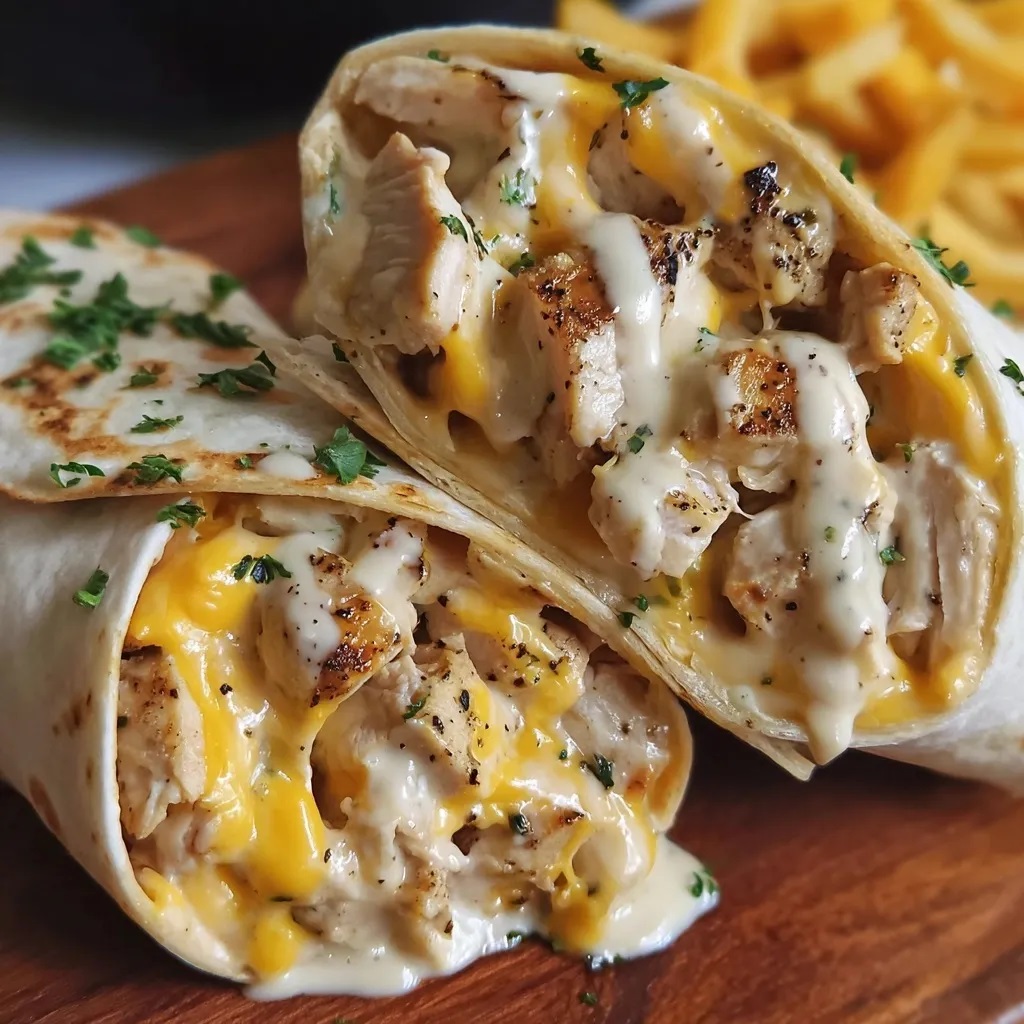
Cheesy Garlic Chicken Wraps
Tender chicken mixed with garlic aioli and melted cheddar cheese, wrapped up and grilled until golden and crispy.
Prep Time 15 Minutes
Cook Time 8 Minutes
Total Time 23 Minutes
By: Emily Smith
Category: Hearty Mains
Difficulty: Easy
Cuisine: American
Yield: 4 Servings (4 wraps)
Dietary: ~
Ingredients
→ Main Filling
01 2 cups cooked chicken breast, shredded or diced
02 ½ cup creamy garlic aioli
03 1 cup sharp cheddar cheese, freshly shredded
04 4 large flour tortillas
→ Seasonings
05 Salt to taste
06 Freshly ground black pepper
Instructions
Step 01
In a medium bowl, combine the shredded chicken with the garlic aioli, mixing until the chicken is well coated. Season with salt and pepper to your liking.
Step 02
Gently warm your tortillas in the microwave for 15-20 seconds or in a dry skillet for a few seconds on each side to make them more pliable.
Step 03
Lay each tortilla flat and spoon about ½ cup of the chicken mixture down the center, leaving space at the edges. Sprinkle ¼ cup of shredded cheddar over the chicken.
Step 04
Fold the bottom edge of the tortilla up over the filling, then fold in both sides and roll tightly from bottom to top, keeping the filling tucked in.
Step 05
Heat a large skillet or griddle over medium heat. You don't need oil since the tortillas will crisp up nicely on their own.
Step 06
Place the wraps seam-side down in the heated skillet. Cook for 2-3 minutes until golden brown, then flip and cook another 2-3 minutes on the other side.
Step 07
The wraps are done when both sides are golden brown and you can see the cheese has melted inside. The tortilla should be crispy on the outside.
Step 08
Let the wraps cool for just a minute, then slice each one diagonally in half. Serve immediately while the cheese is still melty and the outside is crisp.
Notes
- Rotisserie chicken works perfectly for this recipe and saves time
- Don't overfill the wraps or they'll be difficult to roll and may burst while cooking
- Make sure your skillet isn't too hot or the outside will burn before the cheese melts
Tools You'll Need
- Large skillet or griddle
- Mixing bowl
- Sharp knife for slicing
The most important part is just ahead — click NEXT »»
